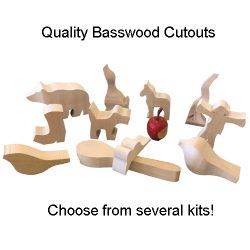
There are many ways to carve a gnome. Before you begin carving, here are some key points to keep in mind. This project is not only rewarding but also fun. This requires several layers and is a good way to learn how a gnome is made. There are many different ways you can add creativity and flair to your gnome carve. These are just three tips for carving a wood gnome.
Freehand carving a gnome
These tips will help you succeed when carving a gnome freehand for Christmas ornaments. It is possible to carve the gnome without a knife. A micro V-tool will be necessary if you wish to add fine details to your hat rim. A gnome is easy to carve and can be done in your spare hours.
Freehand carving is fun with the gnome. These gnomes were popular garden ornaments and are still very much in demand. Making a gnome out of wood is a great exercise in skill. It will help you gauge how skilled you are and where you need to work on your craft. It will also be an excellent measuring stick for design, detail, and depth. Once you've mastered the gnome drawing, you can move on to sculpting his features.
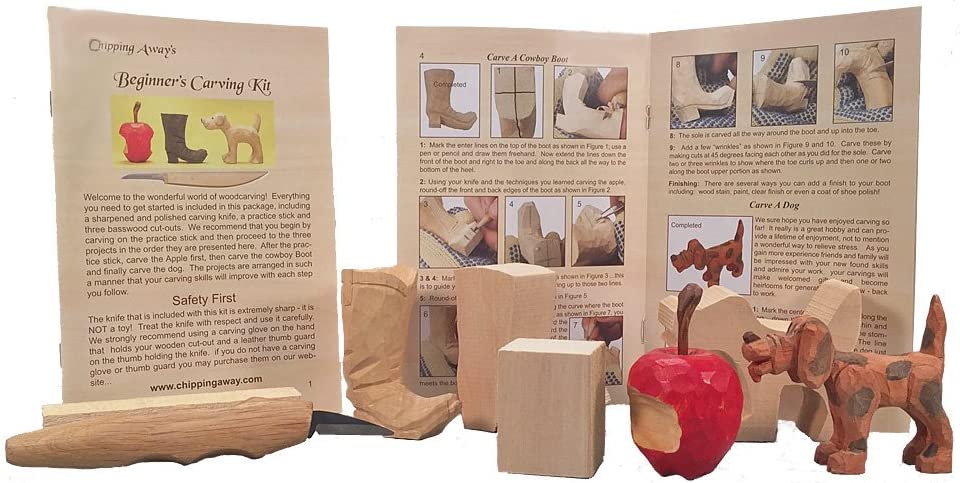
Whistle carving is a project that every woodcarver should try.
A whistle is a great project for woodcarvers. A simple, yet functional object, a whistle will be fun to carve and is an excellent way to introduce your friends and family to the process. If you want your whistle functional, there are some important steps that you should follow. This tutorial will explain how to carve a whistle.
To start the project you'll need a straight-edged, non-toxic knife. It may seem intimidating, but carving a Gnome is an easy project that will increase your woodcarving skill and provide you with a creative outlet. This project is great for beginners as you will be able to learn many woodcarving methods.
Gnome carvings can be creative.
You can easily add creativity to your gnome carvings by adding a colorful cap. A wood-carved gnome may be a whimsical decoration, or a sneering troll might make your heart melt. Gnomes are an excellent way to add personality to your garden, and this can be done with various materials, such as wood, stone, and stone.
Creating a gnome out of wood
The first step in carving a wooden gnome is to determine the block size. Next, draw the gnome’s anatomy. This includes the face, body (including feet), belt, and hat. You will need to make a V-cut around the facial features to create smooth corners. Using a chisel or knife, make V-cuts in the appropriate places. Cut a piece of plywood about 1.5mm thick using a micro Vtool. This will give you a nice curved edge for the hat rim and beard.
When carving a gnome, you need to keep in mind that it is a beginner-friendly project. Because there are so many opportunities to create high-quality work, Every week, you'll see progress in carving a new gnome. While this may not happen with every project, weekly carving progress will allow you to make noticeable improvements in design, shape, and facial features.
Add a new gnome to your world of gnomes
Gnomes in the Underdark and other RPGs typically have one consistent character: David. This character is not crazy. Telepathy, Can Talk Fluently With Animals, and Can't Argue w Elfs are just some of his traits. He has the ability to put up road signs and throw people off. David and Lisa could even have a rivalry.
Gnomes are powerful arcana casters. In addition to this, they're the only playable race in the game. Other gnomes have the same skeleton animation, such as the undead, and the leper gnomes. Gnomes have always had a strong presence in Kirin Tor. Meryl Felstorm was the founder of their organization and had a gnome in his circle.
FAQ
How much should a woodworker charge per hour?
The hourly rate paid to a professional woodworker is dependent on many factors. These include skill level, availability, and location.
An hourly wage for skilled woodworkers is between $20 and $50.
A woodworker with less experience may be able to charge $10 an hour.
Where can you buy hardwood lumber?
Home Depot sells hardwood lumber. They carry a variety of wood products such as flooring, cabinets, and furniture.
A wide range of engineered hardwoods are also available, such as Ipe and Brazilian Cherry (Pau d'Arco), Mahogany and Swietenia Macrophylla.
These woods are available online by searching Google for "hardwood lumber".
You can learn how to woodwork.
It is best to do it yourself. Woodworking takes practice, skill, patience and experience. Mastering any craft takes time.
It is the best way to learn to do something is to actually do it. Start small and use what you learn.
Is there a way to start my own woodworking company?
It can be difficult to start your woodworking business. There are many laws and regulations you need to be aware of. However, it doesn't necessarily mean you must go through all the hassle of setting up a business. Many people choose to join existing businesses. You will only have to pay membership fees, taxes, and other charges.
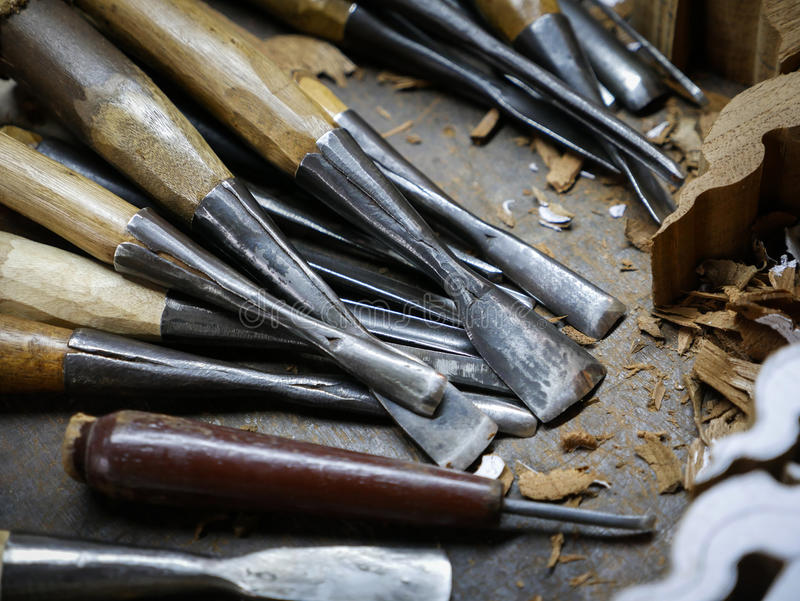
What tools work best for me?
When shopping for tools, it helps to think about your needs and preferences. Do you prefer metal or plastic handles? What size nails and screws do you usually use? Would you rather use hand tools than power tools?
What kinds of woods are good for making furniture?
Woods can be classified according to how hard they are. Softwoods include pine, fir, cedar, and cypress. They are great for outdoor furniture as they resist rot. Hardwoods include oak, maple, mahogany, and teak. They are generally indoors as they don't weather well outside.
Is it possible to refinish your own furniture?
Yes! There are plenty of ways to refinish old pieces of furniture without having to pay a pro. Here are a few suggestions:
To remove stains and scratches, use sandpaper. Next, wipe the surface clean with a damp cloth.
Apply clear polyurethane finish. Allow furniture to dry completely before you move it around.
Use acrylic paint to paint furniture.
Use stain instead of paint. The furniture will have a rich look thanks to the stain.
Apply shellac wax. Applying wax will give the wood shine and protection.
Statistics
- The best-paid 10 percent make $76,000, while the lowest-paid 10 percent make $34,000. (zippia.com)
- If your lumber isn't as dry as you would like when you purchase it (over 22% in Glen Huey's opinion…probably over 10-15% in my opinion), then it's a good idea to let it acclimate to your workshop for a couple of weeks. (woodandshop.com)
- The U.S. Bureau of Labor Statistics (BLS) estimates that the number of jobs for woodworkers will decline by 4% between 2019 and 2029. (indeed.com)
- Most woodworkers agree that lumber moisture needs to be under 10% for building furniture. (woodandshop.com)
External Links
How To
Here are some tips on how to drive nails in wood
When driving a nail into wood, it is important to first choose the correct size and kind of hammer. There are many types of hammers that you will find: claw hammers and sledgehammers; mallets; ball peen hammers; and hatchets. Each type of hammer comes with its advantages and disadvantages. A claw hammer works well when you're trying to hit nails with a heavy hammer. However it is difficult to precisely control where the blow hits. Although a sledgehammer can be used to hit large areas quickly, it is too heavy to be useful for small tasks.
Once you have chosen the right hammer for you, put your hand flat against its side so that it rests comfortably in the palm of your hand. Take the handle and hold it with both hands. But don't press down so hard you injure yourself. Keep your wrist relaxed and the hammer straight up. Now, move the hammer towards the center of the nail by swinging it back. You should feel the impact of your hammer hitting the nail. If you're having trouble getting the hang of swinging a hammer, practice with a block of wood until you get the rhythm down.
You can now drive the nail by holding the hammer to your body. The nail should be perpendicular to wood's surface. Your eyes should be focused on the nail's tip. Swing the hammer forward, then follow through with the motion of the hammerhead. This can be repeated several times to increase the speed of your swing. When you are confident with the technique, add power to your swings. To make it more powerful, hold the hammer up high to your shoulder and then bring it down. This will help you put more energy behind each of your moves.
Once you have made the first hole, remove your hammer. You can then remove the rest of the nails using a prybar or a screwdriver. Keep the nails heads in line with the surface of the board to prevent splitting the wood.