
If you're wondering how to join picture frame corners, then read this article. This guide covers miter and half-lap joint, as well as proper use of the Rockler Precision Miter Gauge. This will help you make the most stunning frames. Then, check out the tips and tricks below. You'll be a picture frame master in no time!
Miter joints
The miter joint is made from two pieces of wood that have their ends at a 45 degree angle. The 90-degree corner is formed by the perfect fit between the two pieces of wood when they are joined together. To accommodate unusually shaped frames, miter joints are possible at different angles. An example: A picture frame eight-sided will have eight 45° angles, whereas a frame five-sided will have five 72° angles and two 36-degree angles.

Half-lap joints
There are four types of joints that can be used to join picture frames. These include miter joints, pocket screws, and half-lap joints. A half-lap joint is strong and gives you a seamless look when it's joined. The most common type of joint is the miter joint, but you may be able make your own. Regardless of the type of joint you use, you'll want to experiment with the different types to determine which one is best for your frame.
Bridle joints
When making a picture frame, one option is to use bridle joints, pocket screws, or mitered joints. These joinery methods are both attractive as well as durable. However, they do require trial-and-error to ensure the joints will fit properly. These are other options:
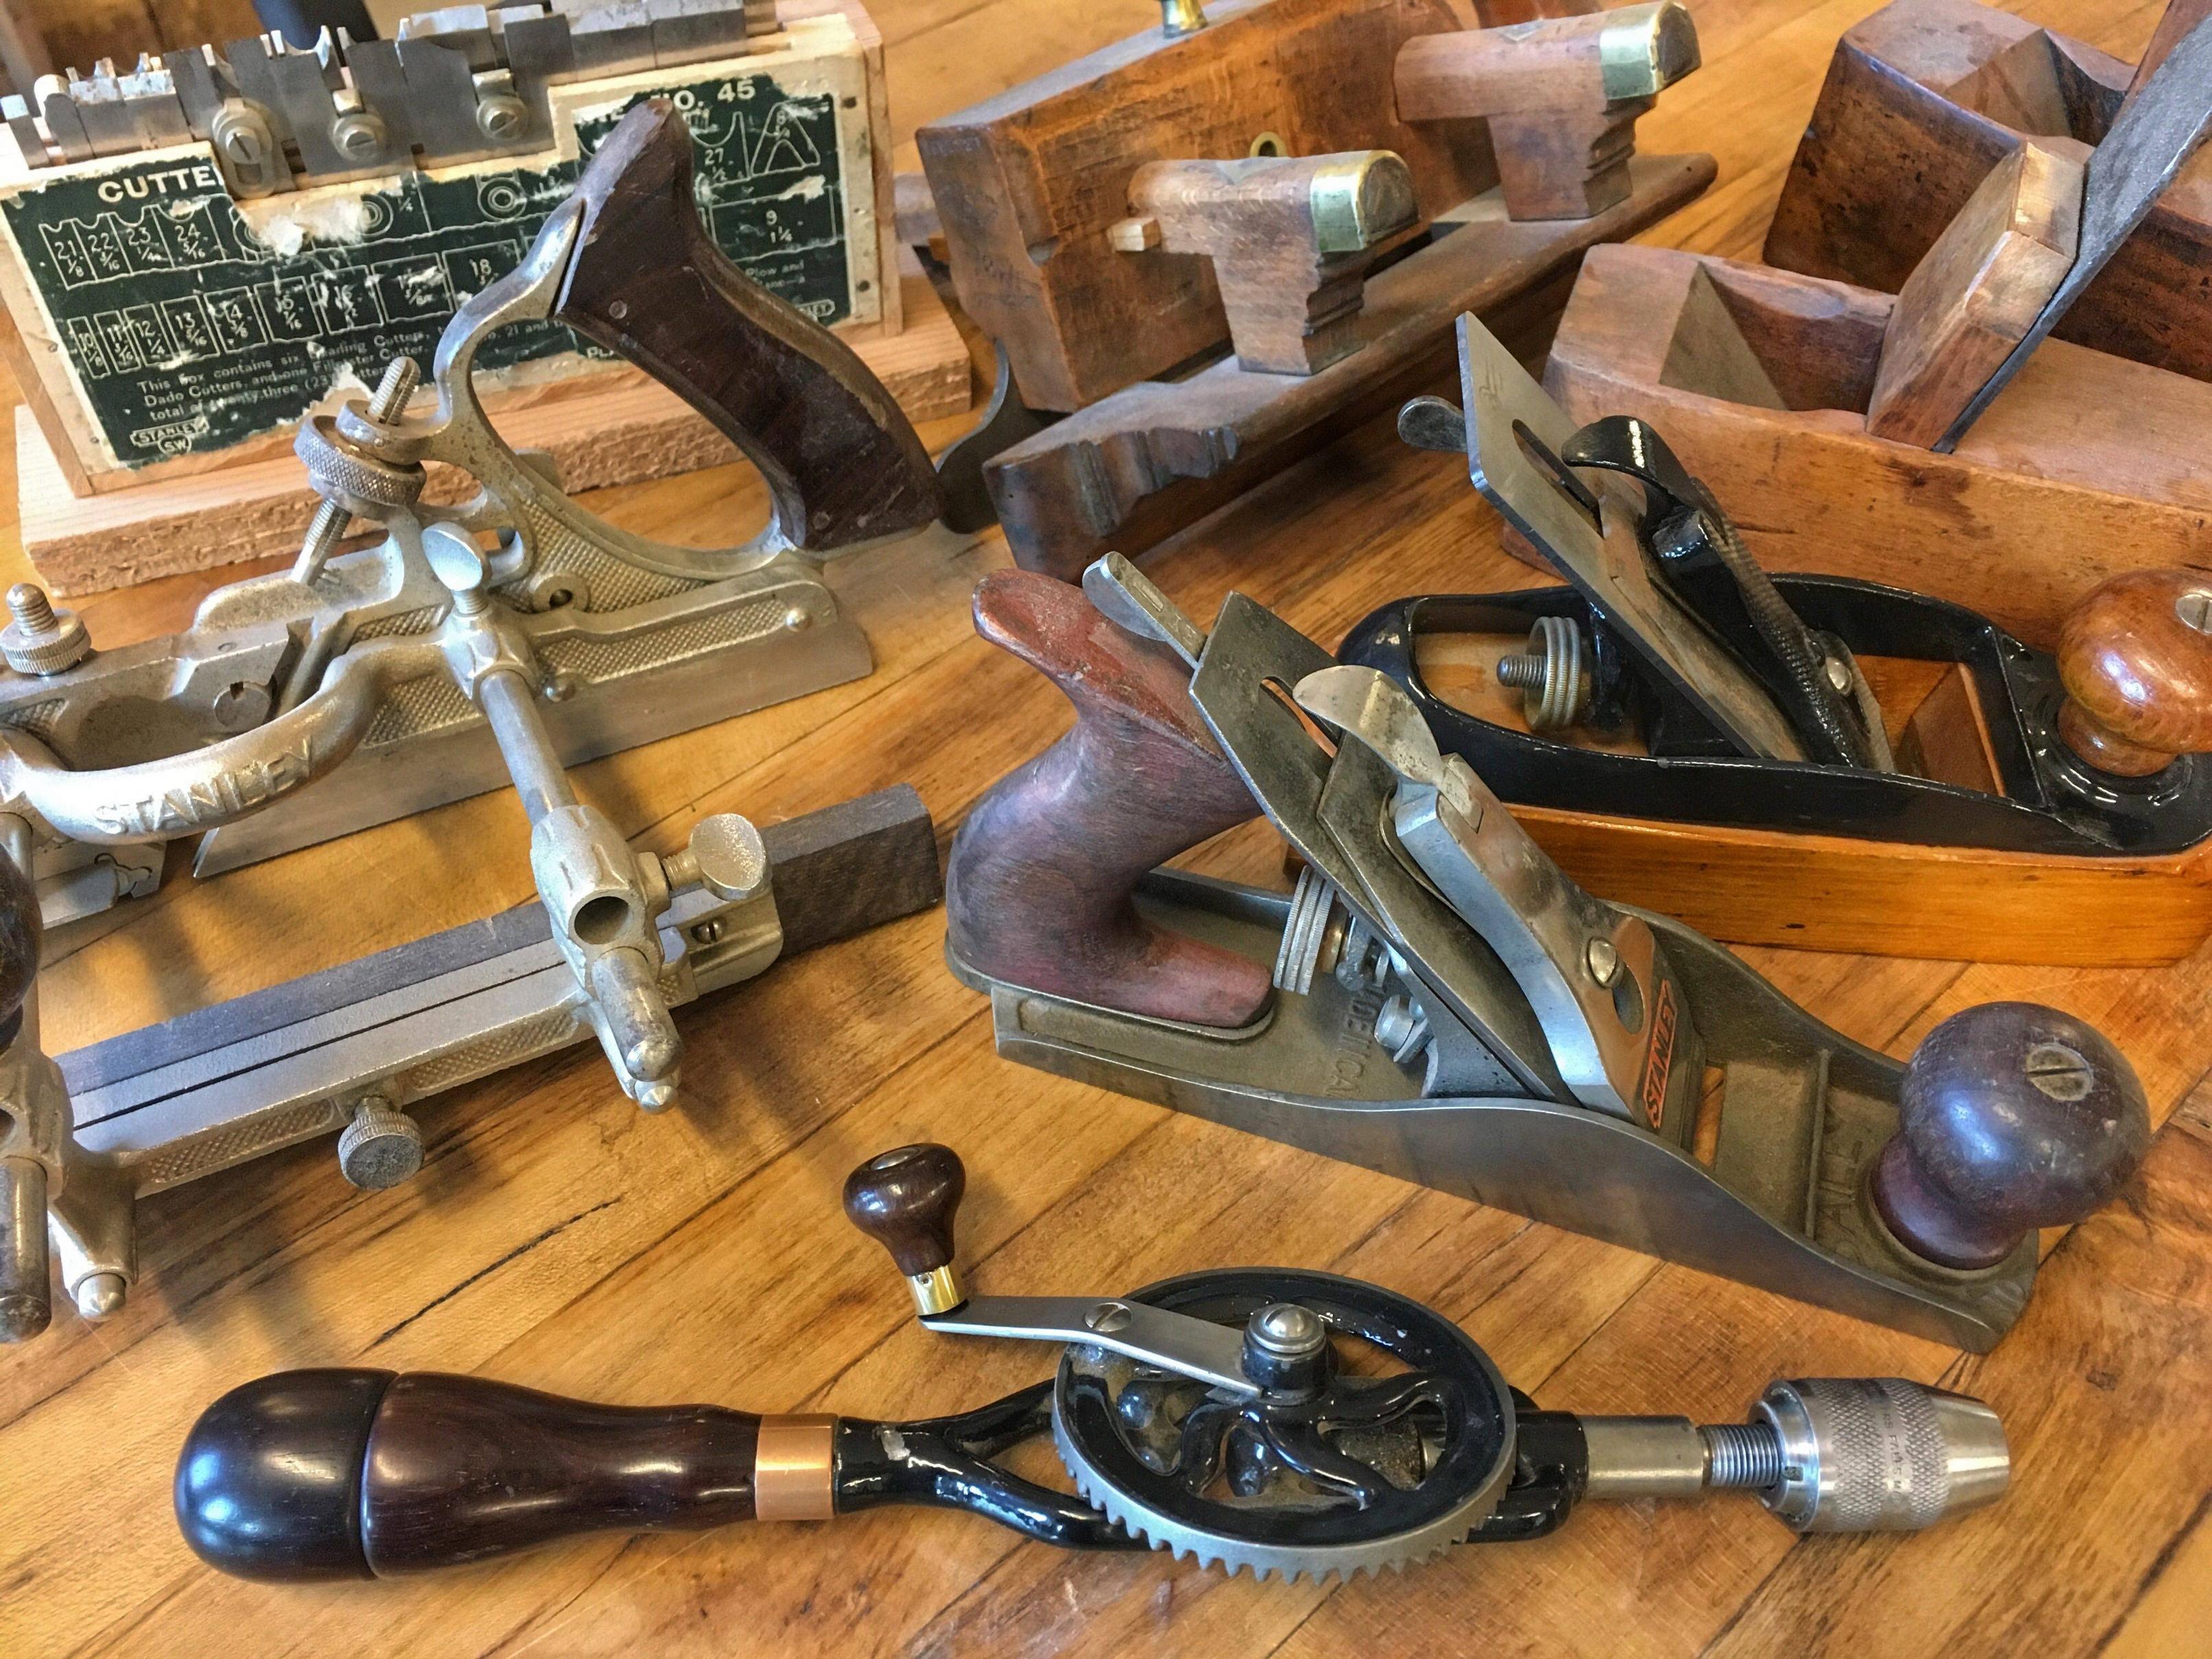
Rockler Precision Miter Gauge
If you're planning to cut a picture frame, you'll want to invest in a Rockler Precision Miter Gauge. These handy tools allow you to cut miters with perfect angles, and they make miter cuts much easier than ever. Using this tool will help you get perfect corners every time and keep your box and picture frames square and aligned. Here are some benefits you get from this tool.
Rockler T-Track Frame Clamp
A Rockler T-Track Picture Frame Clamp is a good tool for attaching corners to picture frames. This clamp has four corner brackets, and a strong nylon band that clamps all four corners at the same time. Its raised reference points help to determine the squareness and alignment of the frames. It's particularly useful when joining small picture frames such as those for children's toys.
FAQ
What kind of tools do carpenters use?
The most common tool used by carpenters is a hammer. The hammer is used to pound nails into wood. This helps to keep pieces together when they are working on a project. Other tools include clamps.
Can I succeed in woodworking if I'm a genius?
No. Woodworking does not require any special skills. You can create beautiful pieces of art by learning how to use simple power tools.
What time does it take for furniture to be finished?
It depends on what size piece of furniture you have. Smaller projects like boxes and picture frames can be finished within one day. Larger projects, like desks or dining tables require several days. It takes time to properly stain and seal wood.
What material would your recommendation be to learn woodworking?
Start with softwood like pine, poplar and ash. After you are comfortable with the softwoods, move to hardwood.
How can I keep my shop organised?
Setting aside an area to store tools is the first step in keeping your workshop organized. Your tools will stay sharp and ready to go when they are free from dust and debris. Pegboard hooks can be used to hang tools and accessories.
What tools do I need to start as a woodworker and what should I learn?
Woodworking takes practice and patience. It takes time and practice to master the various techniques and tools required for woodworking.
There are many kinds of woodworking equipment currently on the marketplace. Some prefer to use power tools, while others prefer to use hand tools.
The choice is yours, but you must ensure you choose the right tool for the job. If you don't have any experience, you may consider starting with a basic set of hand tools.
You might also consider learning how to use the router to create intricate shapes from wood. You can find these at most hardware stores.
Where can I start woodworking?
The best way to learn how to build furniture is by building furniture. You will need tools. There are bound to be mistakes. But if your persistence is consistent, you will soon master the craft.
First, choose a project you would like to complete. You could make something as simple or complex as a box. Or you could build a whole entertainment center. Once you've settled on a project find a local skilled woodworker. Ask the local woodworker for help in deciding what tools and where to get them. Maybe you can ask the person if they know of anyone who does this sort of work.
Statistics
- In 2014, there were just over 237,000 jobs for all woodworkers, with other wood product manufacturing employing 23 percent; wood kitchen cabinets and countertop manufacturing employing 21 percent. (theartcareerproject.com)
- The U.S. Bureau of Labor Statistics (BLS) estimates that the number of jobs for woodworkers will decline by 4% between 2019 and 2029. (indeed.com)
- Woodworkers on the lower end of that spectrum, the bottom 10% to be exact, make roughly $24,000 a year, while the top 10% makes $108,000. (zippia.com)
- Most woodworkers agree that lumber moisture needs to be under 10% for building furniture. (woodandshop.com)
External Links
How To
How to properly use a handsaw
Hand saws can be used to cut wood into small pieces. These saws are most commonly used to cut wood into pieces. A hand saw is a tool made from metal or plastic which cuts material such as wood, plastics, metals, etc.
A hand saw's main benefit is its ability make precise cuts at any angle, without the need to adjust it. Sharpening them is easy, unlike with power tools. However, there are some disadvantages as well. For example, they are heavy and bulky, so you must be careful when transporting them. You could also injure your self if you don't know how to use them.
There are many ways you can hold a saw. When cutting, you should keep your hands away from the blades. If you don't, you might get hurt. Holding the saw in your hands, place your thumbs on the handle and your thumb at the blade's top. This will ensure that you don't accidentally touch or scratch the blade.
When using a hand saw, you should never put anything under the piece of wood you're cutting. Doing so could cause the blade's surface to become uneven. Before cutting, always inspect the area. Make sure no nails or screws are hidden beneath the wood.
Safety goggles should be worn when using a handsaw. They keep dust out of your eyes, making it easier for you see what you are doing. Safety glasses can also be useful as they protect your skin from flying debris.
You must learn how to safely operate a handsaw before you can use it. You can then practice until you are confident enough to cut things. You'll soon be able to cut any item once you have mastered the basics.