To make your table saw work properly, there are many tips and tricks you can use. Push sticks, maintaining the fence aligned and making sure your blade is at an appropriate depth are some of the tricks you can use with your table saw. Some tips are based in experience and will help improve your cutting results. Read on to discover these and more tips. Don't forget to practice! After reading this article, you'll be a pro! You'll be surprised at how many materials you can use, regardless of the material!
Push sticks
Push sticks are a great way to improve safety while working with a table saw. You can get store-bought ones that are made of hard plastic that can break and fragment when the blade strikes it. Instead, purchase one that is made of ABS plastic or fiber-filled nylon. Avoid aluminum push sticks, as they can throw flak at you when they strike the blade. Instead, choose one that is at minimum 1/4 inch thick.
Blade depth
If you are using a tablesaw, it is important to measure the blade depth in millimeters. This measurement isn't mandatory. The CPSC staff reviewed the data and concluded that this voluntary standard has no effect on table saw safety. Here are some key parameters to remember when choosing a saw for your table. The blade depth should not exceed 4mm below the skin's surface. The blade's depth should not be exceeded. Also, consider the dimensions of the saw, including its length and width.

Fence alignment
It is crucial to regularly check the alignment of your fence when using a tablesaw. It is essential that the fence is within 15% to 20% of the blade's thickness. Therefore, it is crucial to regularly align your tablesaw's fence. Proper alignment of your table saw's fence is crucial for great cuts. You can use a scrap piece, feeler gauges, and a solid measuring device to achieve this. You can simply measure the distance from the fence by bringing it within a few feet of the blade. To verify that it is aligned perfectly, simply feel the blade's tooth with a felt gauge and measure the distance.
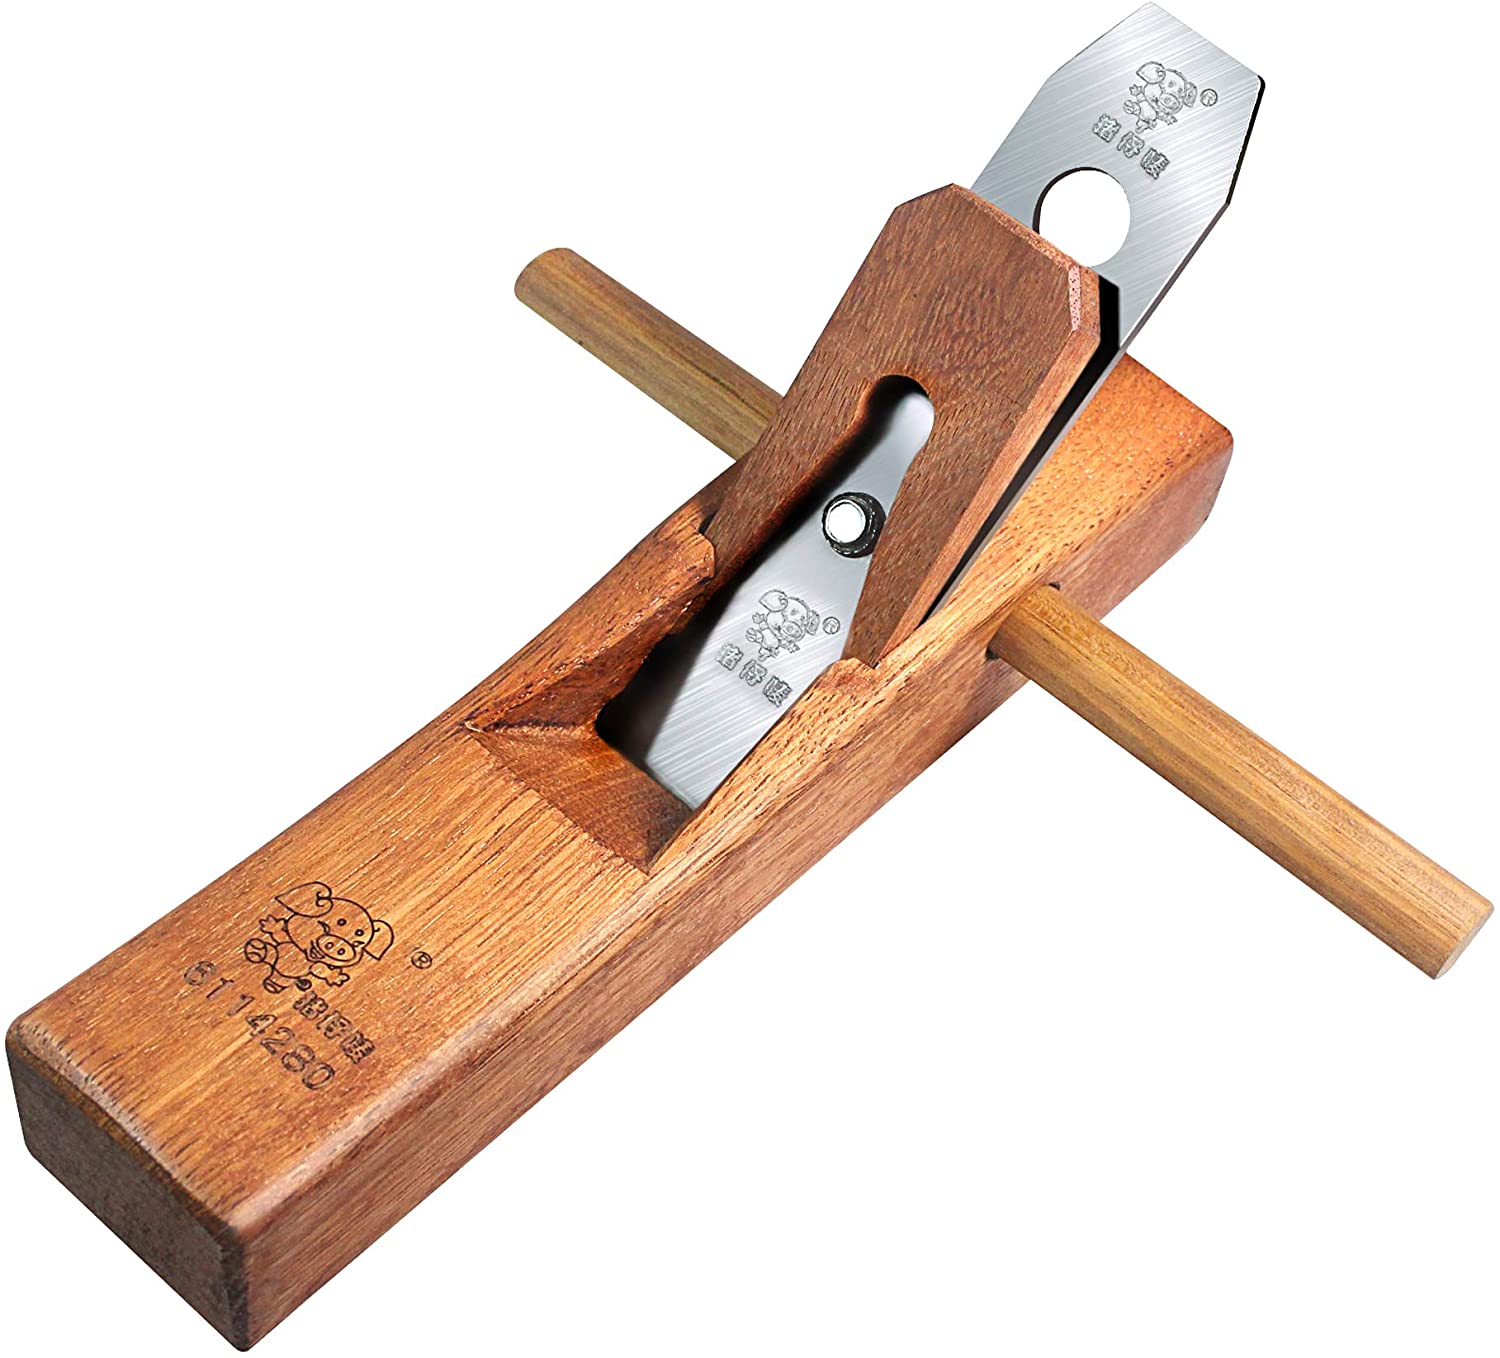
Bridle joints
The versatility of bridle joints makes it easy to make joinery. They can be used in many types of woodworking projects. A bridle joint has many advantages, including strength, ease-of-machining, and a finished appearance. This joinery is not often used in furniture. A mortise-and-tenon joint is another example. First, make a mortise with one piece and a Tenon with the other. This will create a joint called a "bridle". Once you have made the joint with tenoning, it's time to glue the pieces together.
Outfeed jig
Outfeed tables are a great way for you to expand your workspace's flexibility, regardless of whether you're starting a DIY or remodeling an existing tablesaw. A miter slot can be made into the table stand's outfeed to make an outfeed jig table. To adjust the height of the table saw, you can mount an outfeed-jig onto it.
Blade guard
Here are some Blade Guard tablesaw tricks that will keep your hands safe while you cut wood. First, you need to visualize the path of the cut. To avoid kickback, do not place your hands in awkward positions. This can cause the blade's to grab the workpiece before you complete cutting it. Crosscutting allows you to keep the workpiece in place and not bind against it. You should practice this technique frequently to stay one step ahead of the wood.
Dust collection
There are many options when it comes to dust collection for table saws. Dust collection is critical, no matter if you are building or renovating a house, or just cutting wood. A dust collection system should be fitted to your table saw's dust port. These systems capture most of the sawdust generated during work. This keeps your work area clean, and makes it easier to breathe. Table saw dust collection systems are constructed from heavy-duty fabric, and feature a strong zipper. The best tablesaw dust collector bags will catch up to 70% dust from the machine.
FAQ
Is it possible to open my own woodworking shop?
It's not easy to start your own woodworking business. There are many requirements and regulations that must be followed. But, this doesn't mean you need to go through all of the trouble of setting up your business. Many people decide to join established businesses. This allows you to join existing businesses and pay only membership fees.
How much should a woodworker charge per hour?
The hourly rate paid to a professional woodworker is dependent on many factors. These include skill level, availability, and location.
A skilled woodworker can expect an hourly rate of $20-50.
A less experienced woodworker may charge as little as $10 an hour.
What is the difference between a hobbyist or a professional woodworker, and how can you tell?
Hobbyists love making things from wood while professionals are more concerned with the quality of their work. Hobbyists are proud of their creations and will often share them with family members and friends. Before they start working on a project, professionals will spend hours researching the designs. They will meticulously plan every detail of their work from choosing the right materials to finishing it.
What type of tools does a carpenter use?
A hammer is the most commonly used tool by carpenters. A hammer can be used to drive nails into wood. It is also used to help hold pieces together while working on a job. Other tools include clamps.
Where can I buy hardwood lumber?
Home Depot can sell hardwood lumber. They sell all kinds of wood products, including flooring, cabinets, furniture, etc.
You can also find a large selection of engineered hardwoods like Ipe (Araucaria Angustifolia), Brazilian Cherry, and Mahogany in their collection (Swietenia Macedonilla).
You can find these woods for sale online by searching "hardwood lumber" on Google.
Statistics
- The best-paid 10 percent make $76,000, while the lowest-paid 10 percent make $34,000. (zippia.com)
- Woodworkers on the lower end of that spectrum, the bottom 10% to be exact, make roughly $24,000 a year, while the top 10% makes $108,000. (zippia.com)
- The U.S. Bureau of Labor Statistics (BLS) estimates that the number of jobs for woodworkers will decline by 4% between 2019 and 2029. (indeed.com)
- In 2014, there were just over 237,000 jobs for all woodworkers, with other wood product manufacturing employing 23 percent; wood kitchen cabinets and countertop manufacturing employing 21 percent. (theartcareerproject.com)
External Links
How To
Here are some tips on how to drive nails in wood
First, choose the right size and type of tool to drive a nail through wood. The most commonly used types of Hammers are claw hammers. Each kind of hammer has its own advantages and disadvantages. A claw hammer works well when you're trying to hit nails with a heavy hammer. However it is difficult to precisely control where the blow hits. The sledgehammer works well for large areas, but is too heavy for smaller tasks.
Place your hand flat on the side of your chosen hammer so that the handle rests in your palm. Take the handle and hold it with both hands. But don't press down so hard you injure yourself. You should hold the hammer straight-up, with your wrist still relaxed. Next, swing the hammer toward the ground and aim for the nail's center. The impact of the hammer hitting the nail should be felt. Try practicing with a block to help you master the art of swinging a stick.
You can now drive the nail by holding the hammer to your body. Place the nail so that it is perpendicular with the wood's surface. Your eyes should be focused on the nail's tip. Swing the hammer forward, and then move the hammerhead. Keep doing this until you are comfortable with the swing. When you are confident with the technique, add power to your swings. Hold the hammer high above your shoulders and pull it down. This will help you put more energy behind each of your moves.
After you have nailed the hole, take the hammer off the nail. To remove the remainder of the nails, you can use a screwdriver/pry bar. To prevent splitting the wood, ensure you keep the nail heads flush against the board's surface.