This article will describe the methods involved in woodturning an inlay. We'll also discuss the materials used and how to maintain them. With a rotary handpiece and 1/16" upcut spiral bits, we'll learn how to make mortise and inlay. Read on to learn more. Then, try it yourself! Hopefully, you'll enjoy this simple and rewarding project! You can't turn a woodturning project without inlays!
Techniques
Inlay techniques may be an essential part of any woodworking project. They can add character and beauty to the finished product, as well as enhance its aesthetic appeal. There are many methods to create beautiful inlays. Each of these has its own advantages. This article will explain the various options. Continue reading to learn more. Preparing the wood is the first step. Clean it thoroughly with a damp rag or paper towel. To get rid dirt and residue from the wood, you can use mild dish soap. It is important to be careful when you use chemicals because they can damage the wooden. You may also want to use hand tools, as opposed to using routers to cut the wood into inlay patterns.
Inlay techniques can be applied to other materials. Examples of inlay materials include wood, metal, and stone. If inlaid pieces are done properly, they can provide a striking contrast image. You can use a variety of inlay tools to secure the inlayed items in place, including jigs, knives and fixtures. Inlaying can be done before or after turning the wood. Once you've turned the piece, you can add inlay materials to the top or bottom.
Materials
You can give your piece more visual appeal by using a variety of inlay materials. You can use inlay materials to cover many kinds of recesses including those caused by the lathe, natural cracks and voids within wood. Inlay materials may also be used for covering screw heads or brad nail positions. Follow these steps for creating beautiful inlays.
The first step to creating an inlay is choosing a material. This is why some materials are better suited than others. Some people may be more comfortable with resin inlay because it doesn't require cutting delicate pieces, and it also fills in voids after mortises are created. Resin is also available in many different colors which can make it seem magical. Here are some tips to use resin as an inlay material.
Installation

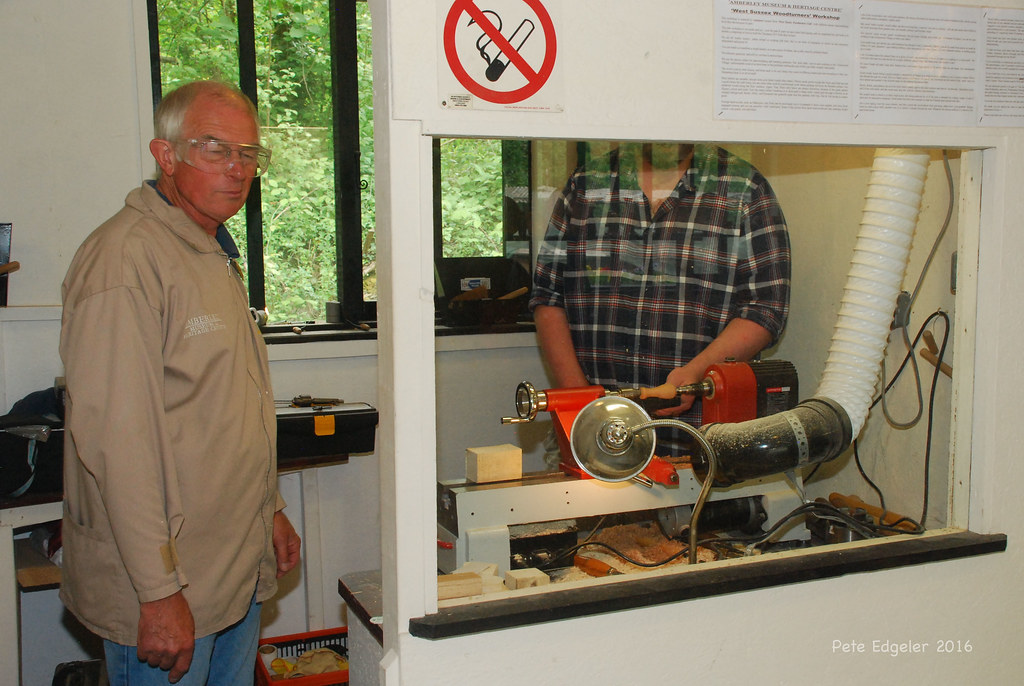
Inlaywork is a decorative method that can be added to woodturning objects. Ron Hampton provides detailed instructions for woodturners on how to inlay woodturning. He walks you through the installation of inlays on bottoms, tops and bowls. He provides safety guidelines and explains the importance to precision. This technique gives wood turnings a unique look. Inlay bandings are available from various suppliers, such as Woodcraft.
Preparing the base of the wood for woodturning inlay is essential. Use a plunge router for best results. Attach the template guide to your router's base. The bushing should be pressed in the correct position around the guide collar. Once the inlay has been placed, ensure that the base remains flat. It will be easier for you to install the inlay because of its angled edges. A router that has a bit slightly larger in size than the mortise will make it easier to install the Inlay.
Maintenance
Woodturning inlay requires only a few simple steps. Make sure to clean your inlay well before you start your woodturning project. This is particularly important when you are using CA glue to inlay stone. The fumes can prove dangerous. To gauge the depth of inlay, you can use a 3/16” allen wrench if space is limited. To avoid scratching your inlay, sand it down to 120 grit.
FAQ
How can I tell what kind of wood I am working with?
When purchasing wood, always check the label. The label should contain information about the wood species, its moisture content, and whether it has been treated with preservatives.
What is the difference of plywood and particleboard?
Plywood consists of layers made from wood and pressed together by pressure. Plywood is available in a variety of thicknesses. It is often used to make cabinets or flooring. Particle board is made from sawdust mixed with resin and then compressed into large blocks. It's used for home improvement projects. Both types of boards can be easily cut and are durable.
Is it possible to refinish your own furniture?
Yes! There are many options for refinishing furniture that you don't need to hire a professional. Here are some suggestions:
Use sandpaper for removing stains and scratches. Use a clean cloth to wipe the surface.
Clear polyurethane varnish should be applied. Allow to dry completely before moving furniture.
Use acrylic paint to paint furniture.
Use stain instead of paint. You can give your furniture a rich appearance with stain.
Use shellac wax. Wax will protect the wood and add shine.
Statistics
- Most woodworkers agree that lumber moisture needs to be under 10% for building furniture. (woodandshop.com)
- Average lumber prices rose about 600 percent between April 2020 and May 2021. (familyhandyman.com)
- Overall employment of woodworkers is projected to grow 8 percent from 2020 to 2030, about as fast as the average for all occupations. (bls.gov)
- The best-paid 10 percent make $76,000, while the lowest-paid 10 percent make $34,000. (zippia.com)
External Links
How To
How do you accurately measure wood?
There are many methods for measuring wood. A digital caliper is a tool that measures distances. We also use a laser level to ensure your work surface flattens.
Two jaws are available on a digital scaler. One can open and the other close. One jaw holds the object being measured and the other measures the distance between them. The digital caliper is great for measuring small distances like thicknesses of wood.
Laser levels feature an infrared-light beam that projects lines across the floor. The laser emits a red dot along the line. By looking down the line, you can see whether the surface is even or not. Laser levels are ideal for checking the accuracy on large surfaces.
Bubble levels look similar to a compass. There is a bubble in the center of the device. The device will inform you if the surface is level if the bubble is in the center. For checking the accuracy of small areas, bubble levels are useful.