There are three main steps in painting a shed, including preparation, choosing a stain, and applying multiple coats. A clear primer, painter’s tape, and a brush are all necessary. You also need to protect interior surfaces using a weatherproof coat. Here are some tips to keep in mind when painting a shed:
How to prepare for painting a shed
There are many important steps to follow before you paint your garden shed, storage shed or other outdoor structures. The shed must be prepared for painting. Here are some steps. You will first need to take off any covers on plants, paths, or other accessories. Make sure to sand down the surfaces to remove any loose paint. Next, apply primer. It is important not to overload your roller. After the primer has dried, apply a thin coat of paint.
Selecting a paint
Bold colors are best for adding color to your shed. A bright color will compliment brighter flowers. Or you can use the colors of your shed to complement the bright flowers. You can choose a bold, complementary color to your home. If you prefer a traditional look, however, you might want to steer clear of blue and orange.
Selecting a stain
You can protect your shed from the elements by choosing a stain that you will paint it with. Oil-based stains can be susceptible to black mold and will impact the overall appearance of your shed. You can go greener with a latex coating. Latex is also resistant to UV rays. You will need to paint two coats with most stains and not apply a topcoat.
Multi-coating
You can choose from acrylic latex or water-based paint to paint your shed. The latter is obviously the most durable and also safer for your environment. When choosing a paint for a shed, ask an employee at a garden center for advice. You can choose a paint which will last many years, however, if you decide to paint the shed yourself.

Choosing a colour
You have many options for exterior colors to choose from when it comes to gray. Consider a stylish shade of gray if you are looking for a color that will complement the natural beauty in your garden. You can choose a darker charcoal shade, such Cyberspace SW 7076 or a more subtle shade like Livingsten Gray 409C. Both of these shades complement many architectural styles. It can be difficult to choose a color for painting sheds, but it doesn’t have to be stressful.
FAQ
What kind wood should I use for my project?
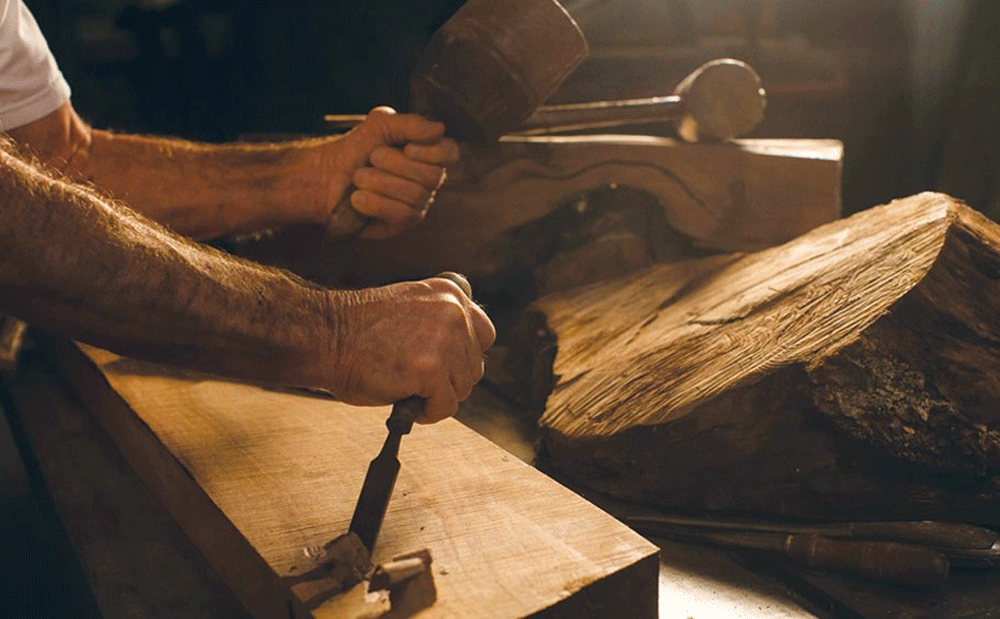
Oak, maple, cherry and mahogany are the most common wood types used for woodworking. Each type of wood has its own unique characteristics that can affect the final product's appearance. Oak tends to be harder and darker than other woods. Birch is light and soft, while mahogany can be heavier and more dense. You can also choose from solid wood or veneers. Veneers are thin sheets or wood that are glued together into one layer.
Where to buy Hardwood Lumber
You can buy hardwood lumber at Home Depot. They carry a variety of wood products such as flooring, cabinets, and furniture.
A large variety of engineered hardwoods is available to them, including Ipe (Araucaria Angustifolia), Brazilian Cherry and Peau d'Arco.
These woods can also be purchased online by simply searching Google for "hardwood timber"
How much should a Woodworker Charge per Hour?
The hourly rate for a professional Woodworker will vary depending on many variables, such as experience, skill level and availability.
The hourly average rate for skilled woodworkers runs between $20-$50.
A less skilled woodworker might charge as low as $10 per hour.
Statistics
- Woodworkers on the lower end of that spectrum, the bottom 10% to be exact, make roughly $24,000 a year, while the top 10% makes $108,000. (zippia.com)
- In 2014, there were just over 237,000 jobs for all woodworkers, with other wood product manufacturing employing 23 percent; wood kitchen cabinets and countertop manufacturing employing 21 percent. (theartcareerproject.com)
- Overall employment of woodworkers is projected to grow 8 percent from 2020 to 2030, about as fast as the average for all occupations. (bls.gov)
- The best-paid 10 percent make $76,000, while the lowest-paid 10 percent make $34,000. (zippia.com)
External Links
How To
How to stain wooden surfaces
Stain wood is a process that involves applying chemicals to the surface of wood, which changes its color. The wood will turn from white to brownish-red due to the chemical reaction. Oak is the most common wood type for staining. However, you can also use other wood types.
There are many options for applying stains to wood surfaces. You can mix the stain with a solvent, such as turpentine, and spray it onto the wood. Another method involves applying a solution of water to the wood. Stains can also be mixed into paints and varnishes, becoming part of the finish coating.
Preparing the surface is the most important step in staining wooden surfaces. To apply the stain, clean the wood completely. Sanding smoothens any scratches or rough spots. Then you must decide what kind of stain you want to use. Penetrating stains are different from non-penetrating. Penetrating colors penetrate deeper into wood than those that are non-penetrating. This makes them more suitable for darker colors, such as mahogany. Penetrating stains are best paired with lighter colors, such as maple.
After you've decided what type of stain to apply, get ready for your tools. Because you can spread the stain evenly with a paintbrush, it is ideal for applying them. After you're done painting, make sure to have some rags handy to remove any excess stain. If you intend to mix the stain yourself you will need enough containers to hold all the components.
After you have prepared the materials, you can clean the area where you want to stain the wood. Use soap and warm water to remove dust and grime. Wipe down all furniture pieces with a dampened cloth and clean water. If you intend to stain darker wood, make sure you get rid of any debris.
Next, spray the stain. Begin at one end and spray or brush the stain on the wood. You should work slowly and carefully. Continue moving along the grain until you reach your opposite end. Make sure that the stain does not drip off the edge of the wood. Before proceeding to the next step, let the stain dry thoroughly.
To protect the painted surface, apply a coat of clear polyurethane sealant. Three coats are recommended for polyurethane. Allow the third coat to dry overnight before sanding the final coat.