
This article can show you how a clampmeter works. This article will explain how to set up a clampmeter and how it can be used with a digital multimeter. This article will teach you how to use the new tool. The clamp can be used to read both AC and DC current. The clamp allows you to see exactly the current in your circuit without having to adjust any settings.
Measuring DC or AC current
The current clamp is used to measure DC and AC current. These devices can be placed in areas that are difficult to reach because they are flexible. They have a wire coil wound around one or both halves and the subject conductor forms the other winding. Some clamps can work with megahertz waveforms and both AC and DC waveforms. The primary and second windings of the current clamps are made out of two different materials: a conductor and a wire coil.
Operation of a clamp-meter
A clampmeter is an instrument that measures the current in electrical current. It has jaws. Magnetic fields are created when current flows through conductors. When the clamp meter is placed on the conductor, it measures the current and displays the readings on the LCD display. Some clamp meters come with a freeze measurement option that allows the meter to be frozen while it is still being clamped. Clamp meters were originally designed to measure electrical current. These meters proved to be so useful that manufacturers quickly began adding functions to them.
Set up a clamp-meter
There are many options for setting up a clampmeter. The clamp meter can be connected to a communication jack. Connect the end to a jack that is connected to a computer or laptop. Next, choose the desired current range. You can adjust the range by turning the clamp meter off and then placing it back over a wire. With practice, setting up a clamp meter will become much easier.
A clamp meter can be used with a digital multimeter
A clamp voltagemeter is the right tool to use if you need to measure electrical current accurately. The UT210E is CATIV rated, is affordable, and offers basic clamp meter functions. The UT210E doesn't require cutting into wires like other clamp voltmeters. These devices aren't disposable, but they provide greater accuracy and endurance.

Using a clamp meter with a transformer
A clamp meter is a useful tool for measuring voltage and current. You can measure current or voltage by clamping a clamp on the wire or lead of the transformer. To test the voltage or current, you should set the clamp meter to the desired setting. Wrap the wire between the clamps and isolate it. This allows you to determine the current or voltage.
FAQ
What kind of tools are used to carpenters?
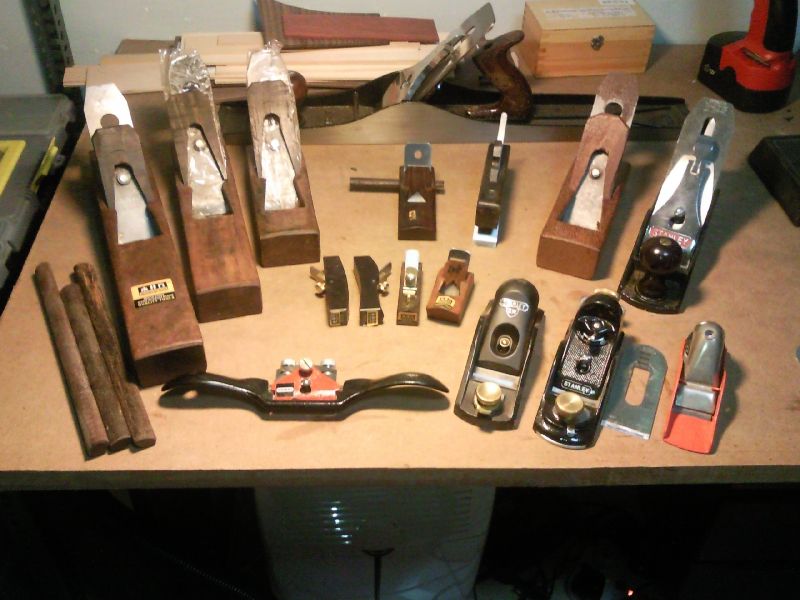
Carpenters use a hammer as their most common tool. A hammer is useful for driving nails into wood. It also helps them hold pieces together while they are working on a project. Other tools include clamps and pliers, screwdrivers as well as measuring tape, pencils and saws.
How much money do you need to get going?
There are no exact numbers because every project is different. Here are some factors to help you estimate how much money you will need.
-
Material cost
-
Tools and equipment
-
Time spent on the Project
-
Hourly rate
-
How much profit can you anticipate to make
-
Hire help
It's a good idea for beginners to start with small projects like frames and boxes. As you gain more experience, you will be able tackle more complicated projects.
Do I have to refinish my furniture?
Yes! There are plenty of ways to refinish old pieces of furniture without having to pay a pro. Here are a few suggestions:
Sandpaper can be used to remove stains and scratches. Use a clean cloth to wipe the surface.
Clear polyurethane varnish should be applied. Allow to dry thoroughly before moving furniture.
Acrylic paint can be used to paint furniture.
Stain can be used instead of paint. The furniture will have a rich look thanks to the stain.
Shellac wax is applied. Applying wax will give the wood shine and protection.
How do you know which tools are the best for you?
When shopping for tools, it helps to think about your needs and preferences. Are you more comfortable with plastic or metal handles? What size screws and nails do you use most often? Would you rather use hand tools than power tools?
How can a beginning woodworker make a living?
Many people are beginning to learn how build furniture to launch an online business. You don't have to sell on Etsy if your furniture is just beginning. You could also sell at craft fairs, or other local events. Or you could offer workshops for others who want to learn how to build their own furniture. If you have the experience to be a carpenter, builder, or a designer, you may consider offering your services in remodeling homes or creating custom pieces.
Statistics
- Woodworkers on the lower end of that spectrum, the bottom 10% to be exact, make roughly $24,000 a year, while the top 10% makes $108,000. (zippia.com)
- In 2014, there were just over 237,000 jobs for all woodworkers, with other wood product manufacturing employing 23 percent; wood kitchen cabinets and countertop manufacturing employing 21 percent. (theartcareerproject.com)
- Average lumber prices rose about 600 percent between April 2020 and May 2021. (familyhandyman.com)
- The best-paid 10 percent make $76,000, while the lowest-paid 10 percent make $34,000. (zippia.com)
External Links
How To
How to make wood joints
This tutorial will show you how to join two pieces of wood together. We will be using the "pocket-hole joint", which involves drilling holes in wood and then gluing them together. If your wood is straight and flat, this method will work well. You might consider dowel joinery if your wood isn’t straight or flat. These are the steps
-
Drill Pocket Hole Joints. Start by measuring and marking the spot where the pocket hole joint will be placed. Next, drill 3/4 inch holes in each end of each piece using a handheld drilling machine or jigsaw.
-
Sand Smooth. The wood's edges can be sanded to prevent splitting.
-
Glue Together Apply glue on both sides of the wooden plank. Let the wood sit for 5 minutes, then clamp it together.
-
Attach the Pieces together. After the glue has dried properly, clamp the pieces together to make sure they are flush.
-
Trim Joinery. Trim any excess wood surrounding the joint once the glue has dried completely.
Allow enough space between pieces so you can turn them inside out.