
A great way to achieve excellent results is to shave wood by hand. You can create a beautiful contour by slowing down and checking your progress often. A feel of the surface can also help you judge its progress. If you are a woodworker, files and rips can help you shape the wood. You can make the whole process enjoyable and relax. Learn the different methods of shaping wood by hand by reading this article. Try these techniques to shape wooden by hand!
Sanding
Sanding wood by hand can be an old method of woodworking that will give your piece a beautiful finish. Sanding wood by hand can be as easy or as difficult as you like. A single piece of sandpaper can be used to create a steady sanding motion on the finished piece. If you have a more complex job to sand, you might consider buying a sander.

Filing
There are two main ways to file wood by hand. One method uses a chisel-like file, and the other involves filing the wood by hand. Both are effective methods, but only one of them is ideal for some jobs. A chisellike file can be used for smoothing out rough workpieces. But a hand-held one is better for shaping and altering details. Early antiquity saw no need for a file; smoothing was done with sharkskin or abrasive stone, which have a granular surface.
Dremel
Carving a tree is one of the most simple projects you can do with your Dremel. You will start by carving the base. This will act as a guideline for carving the leafy tip. Once you have carved the base, sand it and then finish the project by painting or applying a protective varnish. A workbench is necessary to carve a tree. You can adjust the Dremel’s head lock by turning its clockwise or anticlockwise. You'll also need a wrench.
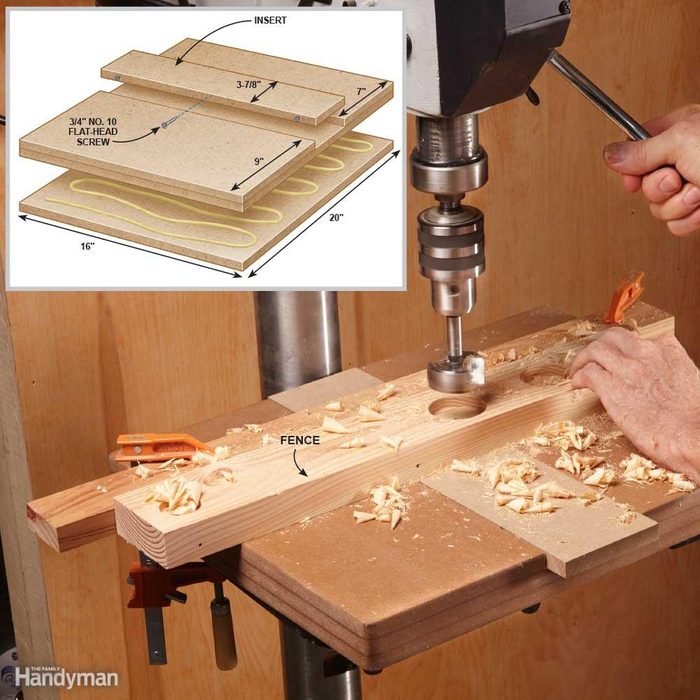
Surform
For any serious woodworker, Wood Plans and Surforms will be an indispensable tool. These tools remove unwanted wood material. They are based upon traditional techniques and will be a welcome addition in your toolbox. Here are some benefits of using these tools:
Hewing
To hone wood by hand, you use a sharp instrument such as an axe to shape a log. This method was popular before the advent of sawmills. It is still commonly used in timber framing. While hewn timber is the most traditional and durable method of timber conversion it has become more popular with power tools. These are some helpful tips for hewing wooden beams by hand.
Planning
Many woodworkers are familiar with books about fine woodworking. In these books, authors extol the virtues of hand planing wood. A hand plane can create a smooth, flat surface, which is almost magical. It doesn't require any further work. The authors also emphasize the hand plane's versatility. This method is not as magical as some writers believe.
FAQ
How do you know which tools are the best for you?
It's important that you consider your needs and preferences while shopping for tools. Are you more comfortable with plastic or metal handles? What size are you most comfortable using for screws and nails? Do you prefer hand tools over power tools?
How often do I need to buy new supplies
Over time, you may need to replace your tools. Hand tools will need to be sharpened regularly. Power tools will require replacement parts every so often. You can spread your purchases over a number of months to avoid spending too much.
How do I get started as a woodworker?
Woodworking is an art that takes patience and practice. It takes time to learn how to use all the different tools and techniques required for woodworking.
There are many options for woodworking equipment today. Some prefer power tools while some prefer hand tools.
The choice is yours, but you must ensure you choose the right tool for the job. You might start with a simple set of tools if you don't have much experience.
You might also consider learning how to use the router to create intricate shapes from wood. These can be found at most hardware shops.
How much money will I need to get started?
Because every project is unique, there aren't exact numbers. But if you want to get an idea of how much money you'll need, consider these factors:
-
Materials cost
-
Tools and equipment
-
Time spent on the Project
-
The hourly rate
-
How much profit do you expect to earn
-
It doesn't matter if your goal is to hire help
For those just beginning, it may be a good idea to start small with simple items like boxes and picture frames. As you gain more experience, you will be able tackle more complicated projects.
Is it difficult to start my woodworking business?
It is difficult to start your own woodworking company. There are many regulations and legal requirements that you will need to comply with. But, this doesn't mean you need to go through all of the trouble of setting up your business. Many people decide to join established businesses. This will allow you to avoid paying membership fees and taxes.
Statistics
- Most woodworkers agree that lumber moisture needs to be under 10% for building furniture. (woodandshop.com)
- Average lumber prices rose about 600 percent between April 2020 and May 2021. (familyhandyman.com)
- Woodworkers on the lower end of that spectrum, the bottom 10% to be exact, make roughly $24,000 a year, while the top 10% makes $108,000. (zippia.com)
- The U.S. Bureau of Labor Statistics (BLS) estimates that the number of jobs for woodworkers will decline by 4% between 2019 and 2029. (indeed.com)
External Links
How To
How to stain wood
Staining wood refers to applying chemicals to wood's surface. This chemical reaction causes the wood to change in color. This chemical reaction causes the wood to change from white to brownish red. The most common type of wood used for staining is oak, although many other types of wood can be stained.
There are several ways to apply stains to wood surfaces. One method involves mixing the stain and a solvent and then spraying it on the wood. Some methods involve a mixture of water and dye that is applied directly to the wood. It is possible to mix stain into varnishes and paints, making it part of the finishing coat.
Preparing the surface is the most important step in staining wooden surfaces. Clean the wood to get rid of any grease, dirt or other substances that might be detrimental to the stain's application. Sanding smoothens scratches and rough spots. The next step is to choose the stain type you want. There are two main types of stain: non-penetrating and penetrating. Penetrating stain penetrates deeper into wood than nonpenetrating, making them suitable for dark colors like mahogany. Non-penetrating stains work best with light colors like maple.
You will need to decide on the type of stain you want to use, and then prepare your tools. Because you can spread the stain evenly with a paintbrush, it is ideal for applying them. After you're done painting, make sure to have some rags handy to remove any excess stain. If you are planning to mix your stain, ensure you have enough containers for each component.
After you have prepared your materials, clean the area you intend to stain. To remove dirt and dust, use warm water and soap. Use a dampened sponge and warm water to clean the entire piece. Make sure you eliminate any loose debris, especially if you plan to stain darker wood.
Apply the stain. Apply the stain by brushing or spraying it onto one side of the furniture. Move slowly and carefully along the grain of your wood until you reach its opposite end. You must be careful not to allow the stain to drip off the wood's edges. Let the stain dry completely before proceeding with the next steps.
Protect the painted surface with a coat polyurethane paint sealant. Apply three coats of polyurethane sealer. Allow the third coat of polyurethane sealer to dry overnight before applying the final coat.